

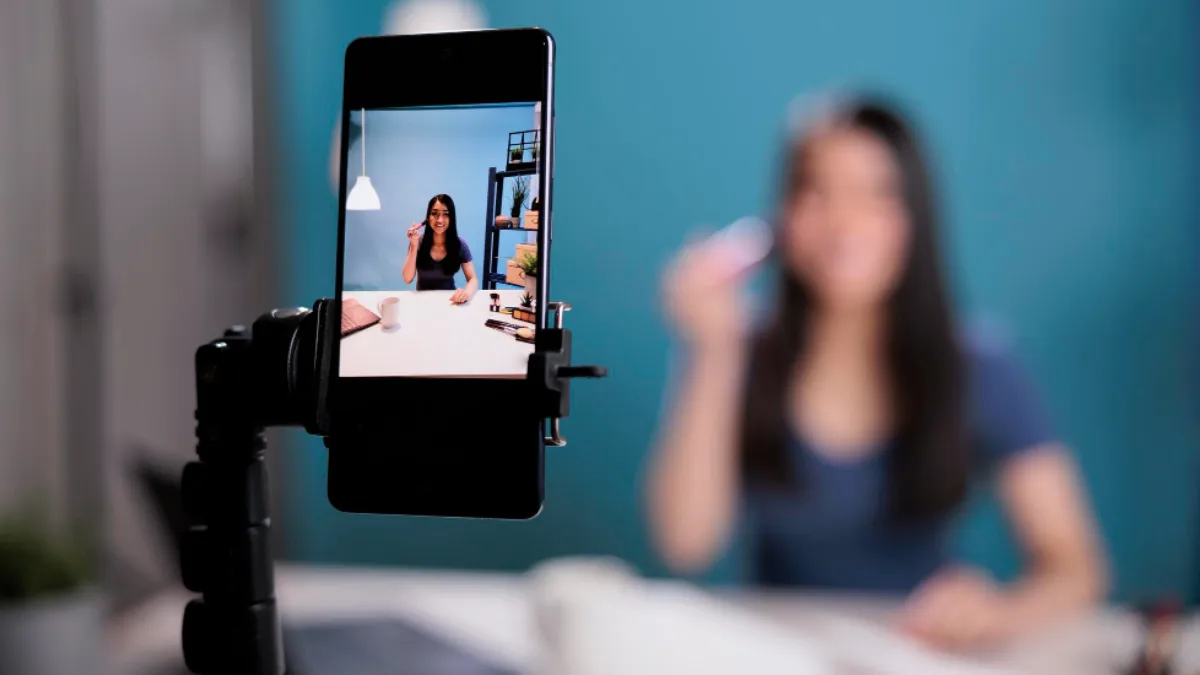
A modern smartphone is a capable broadcast device, and for most people it is entirely sufficient to start streaming without buying a camera or a capture card. What separates a watchable stream from an unwatchable one is rarely the phone itself but the preparation around it. Before opening a live streaming app and going live, it is worth working through the connection, the mounting, the lighting, the audio and the in-app settings in that order, because each one constrains the ones that follow.
Check Your Upload Speed First
Streaming sends data rather than receiving it, so upload speed is the only figure that matters, and on most domestic connections it is a fraction of the download speed people quote.
As a rough guide, streaming at 720p typically requires somewhere between 2 and 4 Mbps of stable upload, and 1080p between 4 and 6 Mbps. Aim to have roughly double the headroom your target bitrate requires, because upload capacity fluctuates and a stream that sits at the limit of your connection will buffer whenever anything else on the network wakes up.
Test at the time of day you intend to broadcast rather than at a quiet hour, and test in the room you will actually use. If you are on Wi-Fi, position matters considerably more for upload than for browsing. Where a wired connection is possible via a USB adapter, it will nearly always be more stable than wireless.
Stabilising the Phone
Handheld footage is tiring to watch for more than a few minutes. A basic tripod with a phone clamp costs very little and solves the problem permanently.
Position the camera at roughly eye level rather than below it, which is the angle a phone propped against an object tends to produce and which is unflattering to everyone. If you plan to move around, a small gimbal smooths out walking motion, though it is not necessary for a stationary setup.
Decide on orientation before you start, since most platforms handle vertical and horizontal video differently and switching mid-stream is not usually possible. Mobile-first platforms generally expect vertical; anything intended for viewing on a computer should be horizontal.
Lighting and Sound
Lighting produces a larger improvement in perceived quality than any other inexpensive change. Phone sensors are small and struggle in dim conditions, producing noise that also wastes bandwidth during encoding.
A window in front of you works well during daylight. After dark, a single diffused light positioned slightly to one side and above eye level is enough. Avoid having a bright window or lamp behind you, which forces the camera to expose for the background and leaves you in silhouette.
Audio matters more than video for retention, since viewers will tolerate a soft picture but leave immediately when sound is poor. The phone’s built-in microphone is acceptable at close range in a quiet room, but a basic lavalier or a wired earphone microphone is a substantial upgrade for very little money. Soft furnishings reduce echo; hard, empty rooms make it worse.
Settings Worth Changing Before You Go Live
Within the app, set the bitrate deliberately rather than leaving it on automatic if the option exists, choosing a figure your tested upload speed comfortably supports. Set resolution to match: 720p on a solid connection looks better than 1080p on a marginal one, because a stable lower resolution beats an unstable higher one every time.
On the device itself, enable Do Not Disturb so notifications neither appear on screen nor interrupt the broadcast. Close background applications, particularly anything syncing to cloud storage, since these compete for the upload capacity you have just measured. Plug the phone in, because streaming drains a battery quickly and warm batteries drain faster still.
A Short Pre-Stream Checklist
Run the same checks each time and most problems disappear. Confirm upload speed in the room you are using. Mount the phone and check the framing. Look at the shot for anything in the background you would rather not broadcast. Record thirty seconds and play it back with headphones to check audio levels. Enable Do Not Disturb, close background apps and connect the charger. Finally, start a short private or unlisted test stream to confirm everything is working before you go public.
In conclusion, streaming well from a phone is mostly a matter of preparation rather than equipment. Measure your upload speed honestly and set your quality to match it, keep the camera still and at eye level, light yourself from the front, treat audio as the priority it is, and run the same checks every time. The hardware in your pocket is already good enough; the difference is in how you use it.
Also Read: How to Create Product Videos Without Filming Using Seedance 2.5 on Pollo AI
How to Live Stream From a Phone: Gear, Settings and Bandwidth Checklist

How to Live Stream From a Phone: Gear, Settings and Bandwidth Checklist
A modern smartphone is a capable broadcast device, and for most people it is entirely sufficient to start streaming without…

How AI can Unlock your Startup’s Growth Potential
Startups often face the same challenge: you need to grow quickly while managing limited time, money, and staff. Artificial intelligence…