So I was filming a Reel last week—just something random in my kitchen—and I realized halfway through that the lighting was garbage and I’d completely fumbled the first take. My gut reaction? Delete it and start over. But then I remembered I had editing tools that could actually fix it without costing me anything.
That’s when it hit me: most people don’t realize how much a solid free video editor can salvage. They just think “it’s not good enough” and move on. Meanwhile, there are creators out there using basic free tools and absolutely crushing it on Reels.
Let me be honest though—not all free editors are created equal. Some of them are straight-up unusable nightmares. I’ve spent way too many hours clicking through bloated interfaces that make a simple trim feel like brain surgery.
Why Reels Editing Is Actually Kind of Different
Here’s what nobody talks about: editing a Reel is NOT the same as editing a YouTube video. I learned this the hard way.
With YouTube, you’ve got time. You can have a 10-second intro, you can take your time building to the point. Reels? Nah. People are swiping in less than a second if you don’t hook them. The entire editing philosophy changes.
Vertical is the whole game — If your editor doesn’t treat vertical format as the default, you’re fighting uphill. I’ve used editors that force you to work in landscape then rotate it. Absolute nightmare.
Audio IS the content — I’m not exaggerating. Half the time, people are watching Reels with sound off in their feed, then turning it on if something catches them. The trending audio is doing heavy lifting here. Your editor needs easy access to music that actually works for Reels, not some random royalty-free tracks that sound like a 2005 wedding video. Instagram’s own creators guide emphasizes how audio drives engagement across short-form video, which is why the music library in your editor matters so much.
Pacing matters more than perfection — I used to obsess over color grading and getting every transition just right. Turns out, people respond way more to fast cuts and rhythm. A slightly wonky edit with good energy beats a perfectly color-graded snooze.
No watermarks, period — This is the one thing that’ll actually tank your performance. I posted a Reel with a watermark once (long story), and the engagement was noticeably lower. Instagram’s algorithm definitely notices when you’re using free software to post.
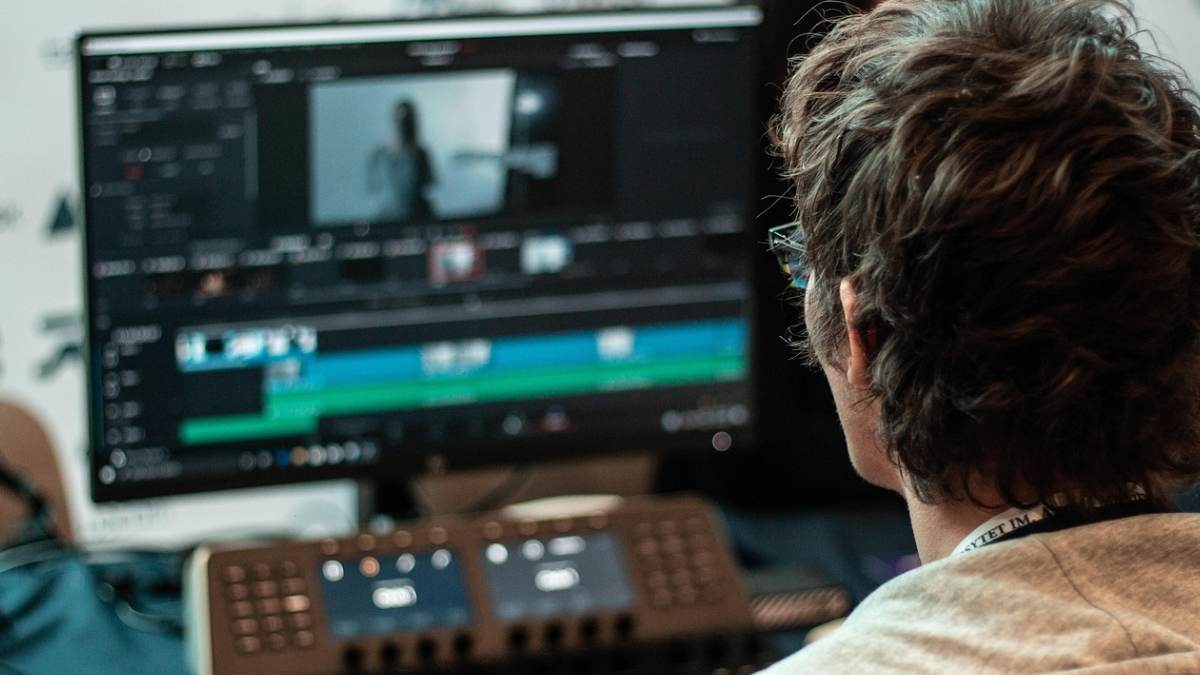
Desktop or Phone—Where Should You Actually Be Editing?
I flip back and forth depending on the day, honestly.
Phone editing makes sense if: You film something on the go and want to post it within an hour while the momentum is there. You’re not doing complex color work. You just need to trim, add some text, throw on audio. Takes maybe 10 minutes and you’re done.
Desktop editing is better when: You’re pulling clips from multiple sources. You want to do any kind of color grading or fine-tuning. You’re building a cohesive look across several Reels. You need precision timing between audio and visuals.
Real talk though? Most of my best-performing Reels have been edited on my phone. There’s something about the constraints that forces you to keep it simple and move fast. When I sit down at a computer, I overthink everything.
What Actually Works for Free Reel Editing
I’ve tested enough tools to know what separates the decent ones from the garbage:
You need a tool that doesn’t make you hate life — Sounds basic, but I’m serious. If you have to click through five menus just to trim a clip, you’re not going to keep using it. The friction has to be low.
Audio library that matters — Not just random music, but stuff that’s actually trending on Instagram right now. This is huge. Last month I spent 20 minutes searching for a trending sound in a clunky editor, found it, then realized the quality was terrible. Waste of time.
Export that doesn’t take forever — I’ve had videos render for 30 minutes. That’s time I could’ve been filming another take or scrolling through actual life. Speed matters.
Text options that don’t look cheap — Bad text can kill a Reel instantly. You need fonts that look intentional, not like Comic Sans had a baby with Papyrus.
Captions, ideally — Instagram loves captions now. Some free tools auto-generate them, which saves you an hour per video.
I’ve been using Clideo a lot lately, and honestly, it just works. It’s web-based so there’s nothing to download, it handles vertical video natively, and you can edit on whatever device you’ve got in front of you. The workflow is stupid simple—upload, edit, export. No overthinking required.
If you’re on mobile, grab the Clideo app from the App Store. I used it to edit a Reel while waiting in line at coffee yesterday. Three minutes total.
The Actual Techniques That Get Views
Okay, so you’ve got your editor picked out. Now what? Here’s what I’ve noticed actually works:
Jump cuts every 1-3 seconds — I used to think this looked jumpy and unprofessional. Then I started doing it and my watch time went up. People expect that rhythm in Reels. It feels intentional, not lazy.
Lean heavy on audio — Sync your cuts to beat drops. It sounds dramatic, but the visual punch of cutting right when the bass hits is chef’s kiss. That’s what makes people stop scrolling.
Text placement matters — Don’t just throw text in the middle for the whole clip. Put it on screen right before a punchline, right as something unexpected happens. The timing creates the joke.
One color grade, max — Don’t get cute. A slight warmth filter or a tiny contrast bump. That’s it. Oversaturated Reels look like they were made by someone who just discovered Photoshop in 2010.
Intentional pauses — This is counterintuitive, but a deliberate 0.3 second pause right before something funny happens gives it more impact. Dead air is sometimes the best edit.
The Mistakes I See Over and Over
Piling on effects — Transitions are cool. Using six different transitions in a 15-second Reel is not. Pick one, maybe two, and commit.
Audio levels that are a mess — Dialogue fighting with music, sound effects bleeding through everything. It’s exhausting to watch. Take 30 seconds to balance your levels.
Inconsistent pacing — Three fast cuts, then a three-second static shot, then back to fast cuts. Pick an energy and stick with it.
Assuming good content fixes bad quality — It doesn’t. A low-res export tells Instagram’s algorithm this is low priority. Your brilliant idea won’t shine if it looks like you filmed it on a potato.
Skipping captions — Even if audio is clear, captions get engagement. Plus, Reels autoplay silent, remember?
How I Actually Edit a Reel (Start to Finish)
Let me walk you through my actual process because it’s way simpler than people think:
Film vertically from the start — Don’t film horizontal and rotate. Just don’t.
Dump it into the editor — Upload the raw clip(s).
Trim ruthlessly — Cut out every pause, every “um,” every moment where nothing’s happening. Sounds harsh, but that’s the game.
Add audio — Layer in whatever trending sound fits the vibe.
Make one editing pass — Add text if it needs context. Adjust color if it looks washed out. Maybe one transition if the pacing needs it. That’s genuinely it.
Export in high quality — Don’t compress. Instagram respects full quality uploads. According to Meta’s tech specs for Reels, uploading at optimal resolution ensures your content gets priority in the algorithm over lower-quality versions.
Post that same day if possible — Especially if you’re using trending audio. The audio shelf life is real.
The whole thing takes me 8-12 minutes, tops. If I’m overthinking it, I’m probably making it worse.
Why Free Actually Works Now
There’s this weird assumption that free = limited. That was true like five years ago. Now? Honestly, the gap between free and paid isn’t that wide for basic Reel editing.
Free tools now give you:
- Multi-track editing (stack videos, audio, text)
- Pre-built templates designed for vertical video
- Thousands of usable music tracks
- Speed controls
- Color correction that actually works
- Sometimes even AI-powered captions
The “premium” stuff is usually just saving templates or advanced effects you don’t need anyway.
The Real Secret to Reel Performance
Here’s what I’ve learned that has nothing to do with the editing software itself:
Authentic beats polished — People can feel when you’re overthinking it. Some of my highest-engagement Reels have been rough around the edges because they felt real.
Consistency matters more than perfection — Post Reels regularly. The algorithm notices when you’re actually active versus when you ghost for two weeks then post three times.
Use trending audio that’s actually peaking — Not something that was popular last month. Right now, today. Check what’s climbing.
Hook people in frame one — You literally have a second. Make something surprising happen immediately.
Tell people what to do — “Comment if you relate,” “Save this,” “Follow for more.” Don’t assume they’ll figure it out.
The Bottom Line
The best free video editor for Instagram Reels is genuinely the one you’ll actually use. Sounds simple, but I’ve watched people bounce between tools forever, never committing to any of them.
Pick something, learn it in 10 minutes (seriously, that’s all you need), and start posting. You’ll figure out what you actually want in an editor as you go. The difference between waiting for the perfect tool and just shipping content is enormous.
Stop overthinking this. The Reel doesn’t have to be perfect. It just has to be real and it has to be done.
Also Read: How Mobile-First Approaches Are Shaping Daily Living

A Practical Developer Workflow for Using AI-Generated 3D Assets in App Prototypes
Software teams can build an interface, connect an API, and test a user journey within days. The process becomes more…

Rising Beyond Metros: How Small Cities Are Becoming New Engines of India’s Growth Story
Long associated with heritage sites or agricultural trade, India’s tier-2 and tier-3 cities now attract startups, manufacturing units, and digital…