
Nowadays, almost every application allows users to upload some sort of file. This can be a profile picture, document, video, or any other type of file. Angular, as a popular front-end framework, provides an easy and efficient way to implement file upload. It’s very simple to implement an Angular js upload file thanks to its rich set of components, services, and modules.
In this article, we are going to break down the file upload implementation into six simple steps. This way, even a beginner will have no trouble following this guide. However, we still cover all the important steps of creating a file upload feature including adding a progress bar. By the end of this article, you’ll have a complete understanding of how to implement file upload in Angular.
Step 1 – Setting up the project
To get started, we need to set up a new Angular project. First, make sure you have the latest version of Node.js and Angular CLI installed on your machine. To create a new Angular project, open the command prompt or terminal and run the following command.
ng new my-file-upload-app
If the command is executed successfully, you will see the following output.
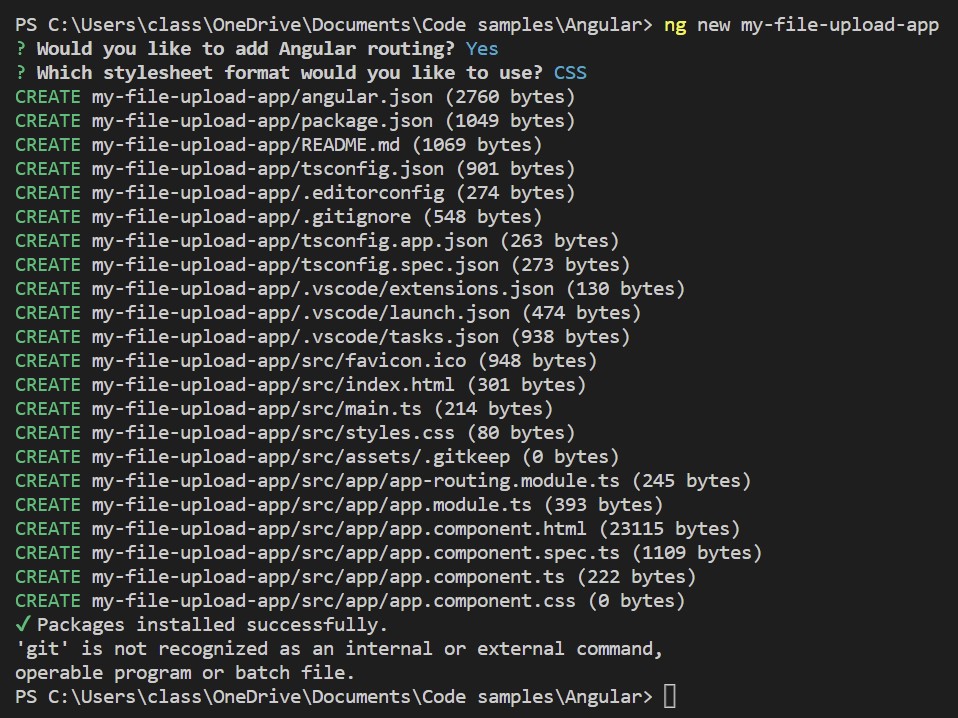
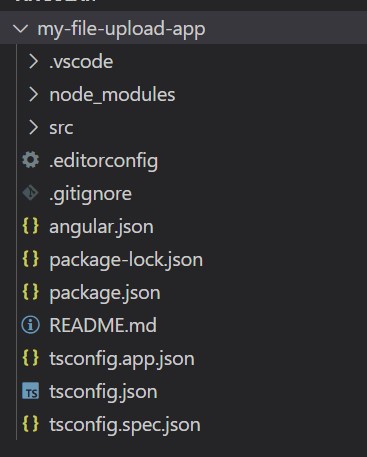
This will create a new Angular project with the name my-file-upload-app. It will have the following structure.
Next, navigate to the project directory by running the following command.
cd my-file-upload-app
You now have a basic Angular project set up and ready for file upload. In the next step, we’ll create a form for file upload.
Step 2: Creating the HTML form
We need to have a form in order to allow users to upload files. For this tutorial, we will create a simple form with one input field for file uploading.
<form>
<div>
<label>Select a file:</label>
<input type=”file” (change)=”onFileChange($event)”>
</div>
</form>
Notice that the change event is bound to the onFileChange method. So whenever a user selects a file onFileChange method will be called.
This method will receive the selected file as an event argument. Then we’ll use it to send the file to the server.
It’s important to note that the file input field should have a name attribute for proper form handling. You can add it as follows.
<input type=”file” (change)=”onFileChange($event)” name=”file”>
That’s it for creating the HTML form. In the next step, we’ll create a service in Angular to handle the file upload.
Step 3: Implementing the file upload service
Once the file is uploaded, we have to send it to the server. To do that, we need to create an Angular service that can handle the process of sending the file to the server.
To create a new service, run the following command in the terminal.
ng generate service file-upload
This will create a new service named file-upload. Open the file-upload.service.ts file and add the following code:
import { HttpClient } from ‘@angular/common/http’;
import { Injectable } from ‘@angular/core’;
@Injectable({
providedIn: ‘root’
})
export class FileUploadService {
constructor(private http: HttpClient) {}
uploadFile(file: File) {
const formData = new FormData();
formData.append(‘file’, file);
return this.http.post(‘[API endpoint]’, formData);
}
}
In the above code, we’ve imported the HttpClient module from @angular/common/http and used it to send a POST request to the server with the uploaded file. The file is added to a FormData object, which is then sent as the body of the HTTP request.
It’s important to replace [API endpoint] with the actual endpoint where the file will be sent.
Now we have finished our third step. In the next step, we’ll use this service to upload the file to the server.
Step 4: Uploading the file
We earlier said that the onFileChange method is called whenever the user selects a file. Then that method retrieves the selected file from the event argument. In this step, we are going to implement the onFileChange method.
.Open the component file and add the following code.
import { Component } from ‘@angular/core’;
import { FileUploadService } from ‘./file-upload.service’;
@Component({
selector: ‘app-root’,
templateUrl: ‘./app.component.html’,
styleUrls: [‘./app.component.css’]
})
export class AppComponent {
constructor(private fileUploadService: FileUploadService) {}
onFileChange(event: Event) {
const input = event.target as HTMLInputElement;
if (input.files && input.files[0]) {
const selectedFile = input.files[0];
this.fileUploadService.uploadFile(selectedFile ).subscribe();
}
}
}
As you can see, the onFileChange function passes the file uploadFile method of the FileUploadService.
In the next step, we’ll add error handling to the file upload process.
Step 5: Adding error handling
File uploading usually can face many problems, So it’s necessary to handle errors that can come from those issues. The following code does exactly that.
uploadFile(file: File) {
const formData = new FormData();
formData.append(‘file’, file);
return this.http.post(‘[API endpoint]’, formData)
.pipe(
catchError(error => {
console.error(‘Error uploading file:’, error);
return throwError(error);
})
);
}
In the above code, we’ve added error handling using the catchError operator from rxjs. The catchError operator intercepts the error and logs it to the console using console.error. It then returns the error using the throwError function.
With the error handling in place, we can now handle any errors that occur during the file upload process.
Step 6: Adding a progress bar
It’s a good practice to give the user an idea of how long it takes the file to be uploaded. The common practice for it is showing a progress bar.
You can do it by adding the following code to the component template file.
<div class=”progress-bar”>
<div [style.width.%]=”progress”></div>
</div>
As you can see, we have added a div element with a class of progress-bar to the template. The width of the inner div is bound to a property called progress, which will be used to update the progress bar.
Next, let’s add the logic to update the progress bar. Open the component file and add the following code:
import { Component } from ‘@angular/core’;
import { FileUploadService } from ‘./file-upload.service’;
@Component({
selector: ‘app-root’,
templateUrl: ‘./app.component.html’,
styleUrls: [‘./app.component.css’]
})
export class AppComponent {
progress = 0;
constructor(private fileUploadService: FileUploadService) {}
onFileChange(event) {
const file = event.target.files[0];
this.fileUploadService.uploadFile(file).subscribe(
(event) => {
if (event.type === HttpEventType.UploadProgress) {
this.progress = Math.round(100 * event.loaded / event.total);
}
}
);
}
}
In the above code, we’ve added a property called progress to the component to store the progress of the file upload. The onFileChange method now also subscribes to the uploadFile method and updates the progress property whenever an HttpEventType.UploadProgress event is emitted. The progress bar updates in real-time, showing the user the progress of the file upload.
Conclusion
In this article, we covered the six simple steps to implement file upload in Angular. By following these steps, you can add file upload functionality to your Angular application easily.
We can extend this functionality in various ways. For example, we can allow multiple files to be uploaded. We can also do many operations using the information of the file such as file name, and file size. You can easily learn those things by referring to Angular documentation.
I hope now you know how to implement a file uploading feature in Angular successfully. Happy coding!”

APIPA Explained: What It Is, Why It Happens, and How I Fix APIPA Address Issues
APIPA is one of those networking terms I usually run into when a device suddenly stops behaving, throws a weird…

How I Turned My Chaotic Screen Into A Calm Workspace With iTop Easy Desktop
For years, my Windows desktop looked like a junk drawer. Every screenshot, download, and “Ok, I’ll deal with this later”…