

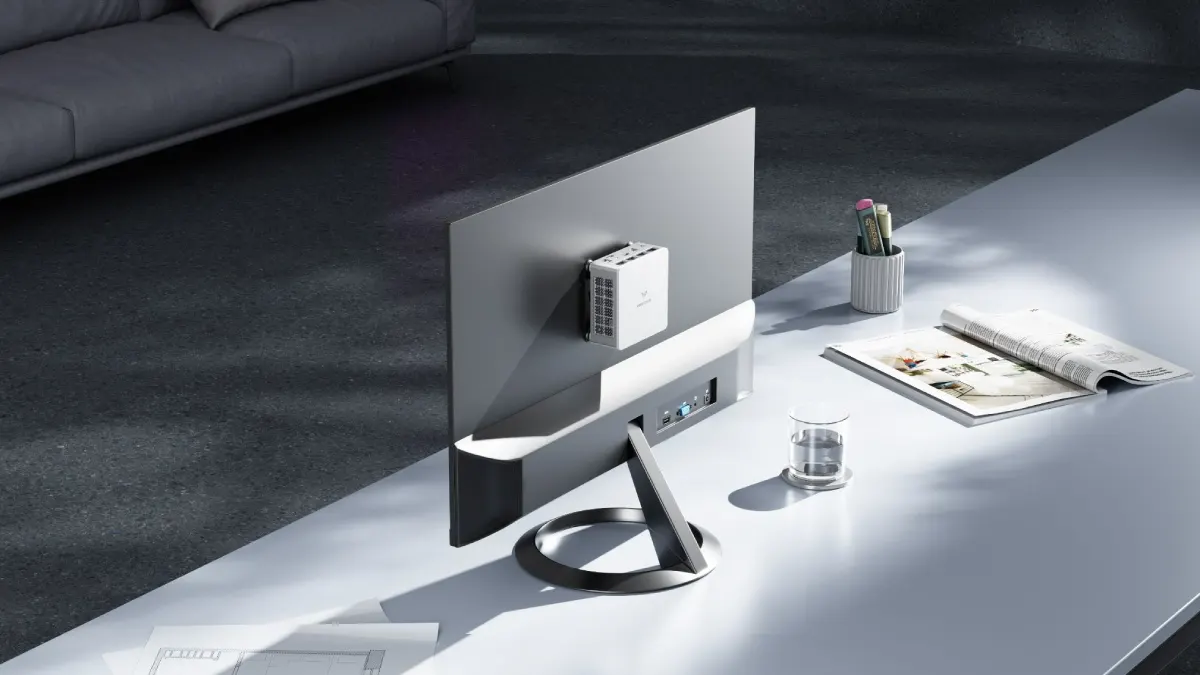
Running a homelab used to mean a noisy rack of secondhand servers taking up half a closet. That has changed. Modern compact hardware now delivers enough CPU cores, RAM capacity, and fast storage to run Proxmox, multiple containers, and several virtual machines from a box that fits on a shelf. This guide covers what actually matters when picking a mini workstation for virtualization, and how to get the most out of it once it is running.
Why Mini PCs Have Become Viable Homelab Hardware
A few years ago, running a serious virtualization setup required rack-mounted servers with high power draw and loud cooling fans. Today’s compact workstations pack enough CPU cores, memory capacity, and NVMe storage bandwidth to run Proxmox VE, Docker containers, and multiple VMs simultaneously, all while drawing a fraction of the power and generating far less noise.
This shift matters most for home users and small IT teams who want lab-grade virtualization without dedicating a room to server equipment. A quiet, low-power mini workstation sitting on a shelf can now do what used to require a full server rack.
Core Hardware Requirements for Proxmox and Virtualization
Not every Mini PC handles virtualization well. Here is what actually determines whether a compact system can run a stable homelab:
CPU core count and virtualization extensions. Proxmox relies on hardware virtualization support (Intel VT-x or AMD-V) along with enough physical cores to allocate across multiple VMs without contention. More cores mean smoother performance when running several VMs or containers at once.
RAM capacity. This is often the first bottleneck in a homelab. Each VM needs dedicated memory, and container workloads add up quickly. A system that supports 32GB or 64GB of RAM gives you real headroom to run a mix of VMs and containers without constant memory pressure.
Storage speed and capacity. NVMe SSDs make a significant difference in VM boot times and container startup speed compared to SATA storage. Having multiple NVMe slots also lets you separate boot storage from VM storage, improving both performance and reliability.
Network throughput. Homelab setups running network-attached storage, backup jobs, or multiple VMs communicating with each other benefit from 2.5GbE or faster networking, rather than being bottlenecked by standard 1GbE ports.
Recommended Specs by Homelab Size
| Homelab Size | CPU Cores | RAM | Storage | Typical Use |
| Small (learning/testing) | 4-6 cores | 16-32GB | 1x 512GB NVMe | Single Proxmox host, a few VMs |
| Medium (daily use) | 6-8 cores | 32-64GB | 2x 1TB NVMe | Multiple VMs, containers, self-hosted apps |
| Advanced (production-like) | 8+ cores | 64GB+ | 2-3 NVMe drives | Clustering, heavier workloads, backup jobs |
Setting Up Proxmox on a Mini PC
Installing Proxmox VE on compact hardware follows the same process as any standard x86 server. Download the installer image, create a bootable USB drive, and install directly onto the Mini PC’s primary NVMe drive. Once installed, Proxmox’s web interface handles VM creation, container deployment, and resource allocation just as it would on rack-mounted hardware.
A few practical tips make the process smoother on compact systems specifically. Enable virtualization extensions in the BIOS before installing, since some Mini PCs ship with these disabled by default. Allocate a dedicated NVMe drive purely for VM storage separate from the boot drive if your system supports multiple storage slots, which keeps boot performance and VM performance from competing for the same disk bandwidth.
For systems built with expandable workstation-class hardware, such as MINISFORUM Mini PCs, the additional RAM slots and multiple NVMe bays make this kind of storage separation straightforward without needing external storage arrays.
Running Containers Alongside VMs
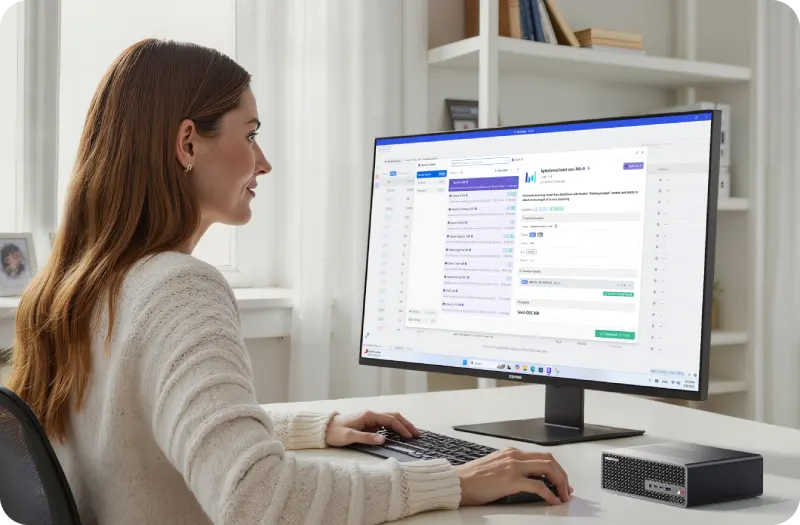
Most homelab setups mix full virtual machines with lightweight containers, typically managed through Docker or Proxmox’s built-in LXC container support. Containers use fewer resources than full VMs since they share the host kernel, making them ideal for running multiple lightweight services like Pi-hole, a media server, or a home automation platform without dedicating a full VM’s worth of RAM to each one.
A well-configured mini workstation can comfortably run a Proxmox host with two or three VMs handling heavier workloads, alongside five or more lightweight containers handling smaller services, all without hitting resource limits, provided RAM and CPU core allocation are planned sensibly from the start.
Common Bottlenecks and How to Avoid Them
The most common mistake in homelab setups is underestimating RAM needs. It is tempting to start with 16GB and add VMs as needed, but memory pressure builds quickly once you add a few services beyond basic testing. Planning for 32GB minimum, even for a modest setup, avoids having to rebuild your allocation strategy later.
Storage contention is the second most common issue. Running VM storage and container storage from the same drive as your OS installation can create bottlenecks under heavier loads. Where possible, separate these onto different NVMe drives or partitions.
Network bottlenecks show up mainly in setups involving network-attached storage or VM-to-VM communication across a home network. Upgrading to 2.5GbE networking, either built into the Mini PC or added via a USB adapter, resolves most of these slowdowns for typical homelab traffic.
Power Efficiency Benefits
Beyond raw performance, one of the most practical advantages of running Proxmox on a Mini PC is power consumption. A compact workstation typically draws a fraction of the power that a comparable rack server uses, which matters for home users running the system continuously. Lower power draw also means less heat generation, which keeps a home office or closet setup comfortable without needing dedicated server room cooling.
Frequently Asked Questions
Can a Mini PC really replace a full home server rack? For most home and small business use cases, yes. Modern mini workstations with enough RAM, NVMe storage, and CPU cores handle typical homelab workloads, including Proxmox, containers, and self-hosted applications, without needing rack-mounted hardware.
How much RAM do I need to run five or six VMs comfortably? It depends on what each VM is doing, but 32GB to 64GB generally covers a mix of lightweight and moderate VMs without memory pressure becoming an issue.
Is NVMe storage necessary, or will SATA SSDs work fine? SATA SSDs work but introduce more latency under heavier VM and container loads. NVMe storage noticeably improves boot times and responsiveness, especially when running multiple VMs simultaneously.
Do I need a discrete GPU for a Proxmox homelab? Not for most standard virtualization and container workloads. A GPU only becomes necessary if you plan to run GPU-accelerated tasks like transcoding or AI workloads within specific VMs.
Backup and Reliability Planning
A homelab is only as useful as its reliability, especially once you start relying on it for real services like file storage, home automation, or media streaming. Proxmox includes built-in backup tools that can schedule regular VM and container snapshots to a separate drive or network storage location. Setting this up early, rather than after a failure, saves significant headaches later.
For Mini PC setups with multiple NVMe slots, dedicating one drive purely to backup snapshots, separate from your active VM storage, adds a layer of protection against drive failure without needing external network storage. If your homelab grows to depend on always-on services, consider a simple uninterruptible power supply (UPS) as well, since compact systems still lose data or corrupt VM states during unexpected power loss just like any other server hardware.
Final Thoughts
Compact workstations have closed the gap with traditional server hardware for most homelab use cases, offering enough CPU power, memory capacity, and storage speed to run Proxmox, containers, and multiple VMs reliably. The keys to a smooth setup are planning RAM generously, separating storage where possible, and choosing hardware with room to grow as your homelab expands. With the right compact hardware, a full virtualization lab now fits quietly on a shelf instead of filling a server room.
Also Read: Stellar Repair for MySQL Review


Dynamics 365 Migration: Thinks to Know Before a Single Record Moves
Most migration projects do not fail because the tooling is weak. They fail because the team treated the move as…
Fewer Tabs, Fresher Adverts: What Job Posting APIs Mean for UK Recruitment Teams
Ask any in-house recruiter or agency consultant in the UK where their week goes, and a surprising share of the…